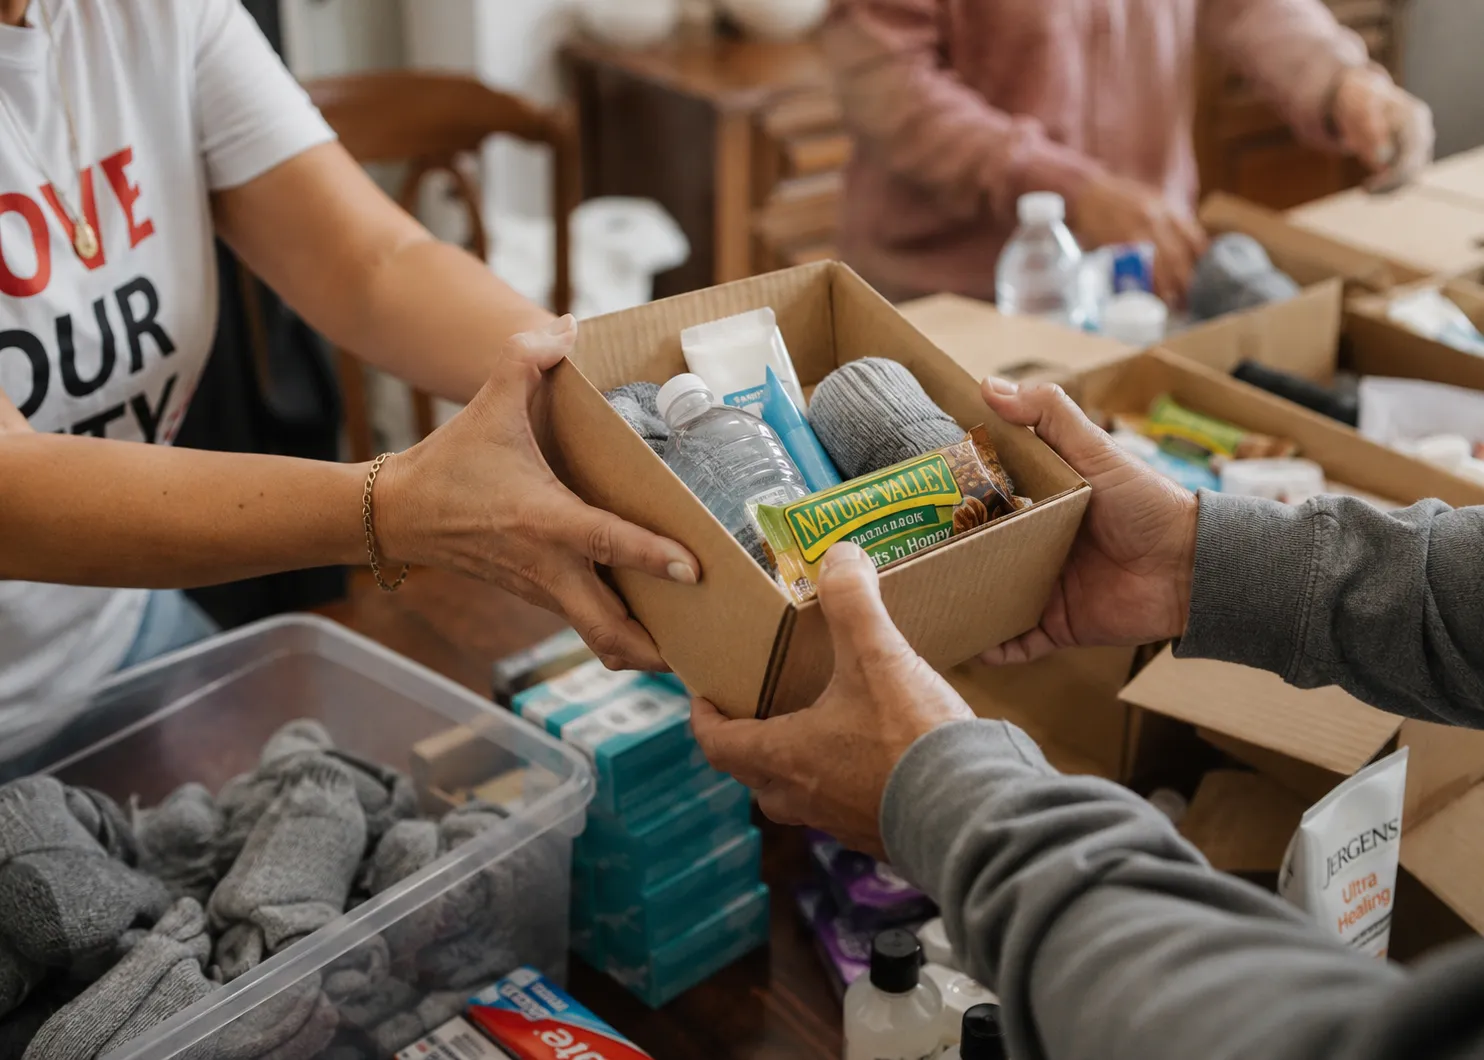
Build with purpose
Six simple steps to create kits that meet real needs with dignity and care. Take your time and trust the process.
6
Simple steps from start to finish
1 hour
Average time to assemble a kit
$15–30
Typical cost per kit you build
Six steps to building kits with intention
Each step builds on the last, from understanding what matters to reflecting on your impact.
Learn
Research what people actually need in your area and season before you shop. Local shelters are a great place to start.
Gather
Collect supplies thoughtfully, checking quality and expiration dates on everything. Buy items you'd want for yourself.
Assemble
Pack items with care, organizing them so everything is easy to access and use. Use sturdy, reusable bags.
Personalize
Add a handwritten note or small personal touch that shows you care about the person who will receive it.
Give
Offer your kit with respect, listening and treating the person with full human dignity. Always ask before handing it over.
Reflect
Notice what worked and what you'd change next time. Every kit you build makes the next one even better.
Make kits that fit the moment
Small changes create kits that truly serve the person in front of you.
Season changes everything
Cold months call for gloves, hats, and thermal layers. Summer requires sunscreen, water bottles, and lightweight clothing.
Context matters
City kits focus on transit passes and compact items. Small towns benefit from practical gear for outdoor exposure.
Dignity guides every choice
Choose quality items people would want for themselves. Avoid anything worn, expired, or that feels like charity.
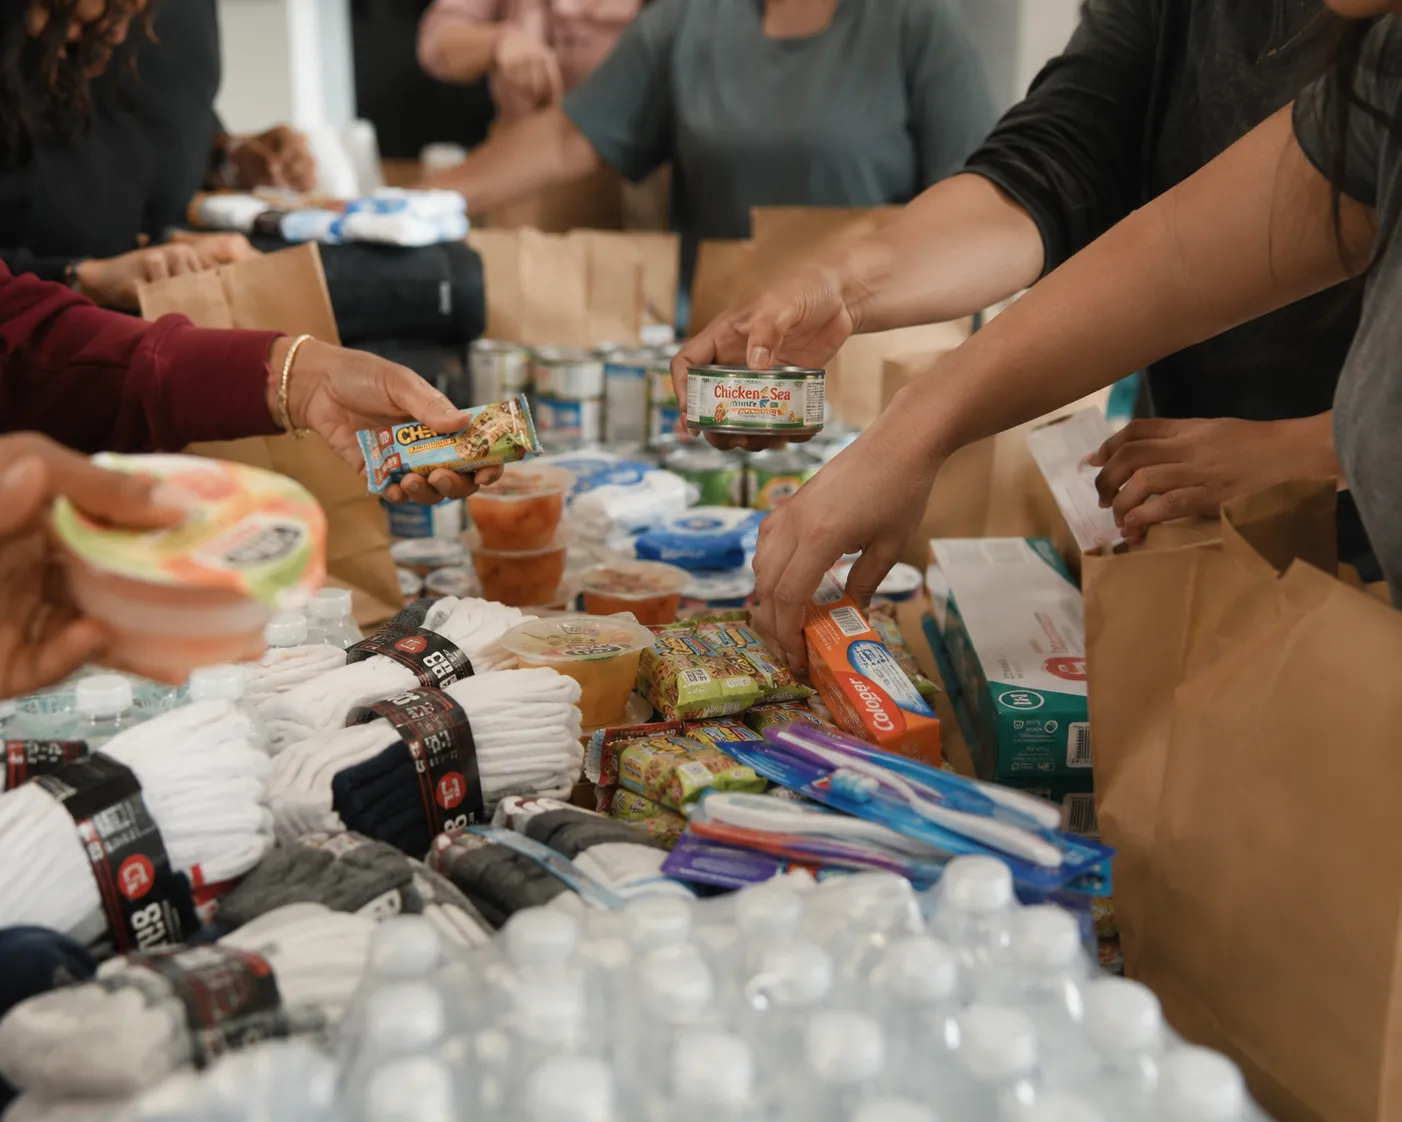
Keep these in mind as you build
Choose the right kit type
Start with the season, climate, and whether the person is living outdoors, in a vehicle, or between shelters.
Pack for practicality
Use sturdy bags, group hygiene items clearly, and prioritize supplies that are lightweight and durable.
Distribute thoughtfully
Offer kits respectfully, keep things simple, and coordinate with local outreach partners when you can.
Questions
Find answers to what matters most when building and sharing your kits
Ready to make a difference?
Start building your first kit today or download our checklist for later.